
February 16, 2023 07:01 by
 Peter
PeterNote
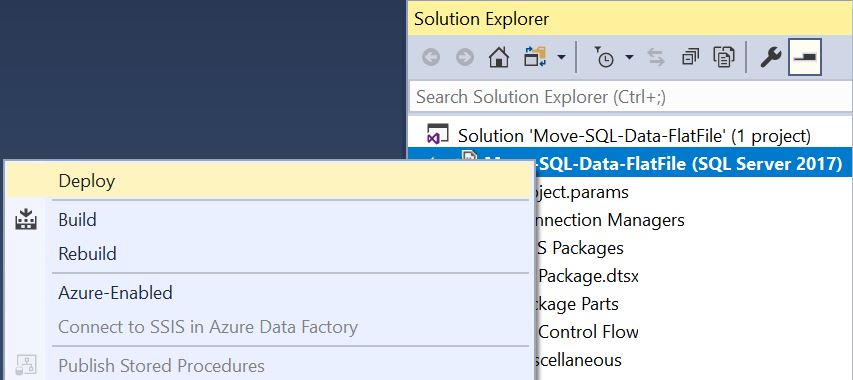
Before going next, first, make sure you have SQL Server Integration Services installed. Open the Visual Studio SSIS package project and right-click on the project and hit Deploy to deploy all packages, if you want to install individual packages then right-click on the package and hit deploy.
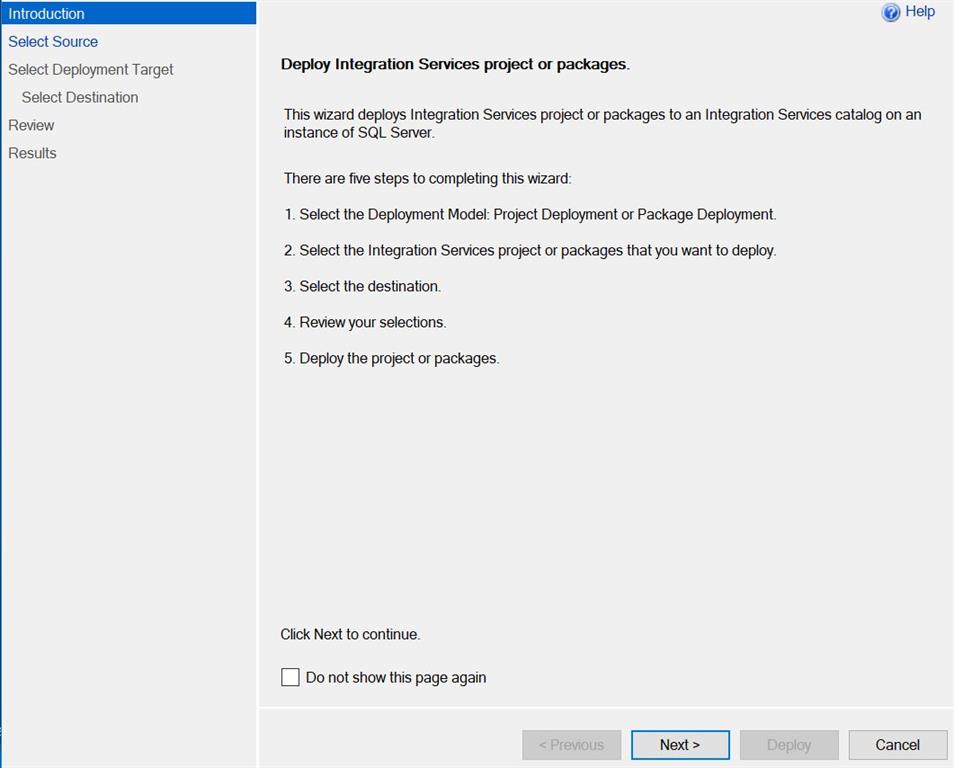
The first window is the introduction windows click the Next button.
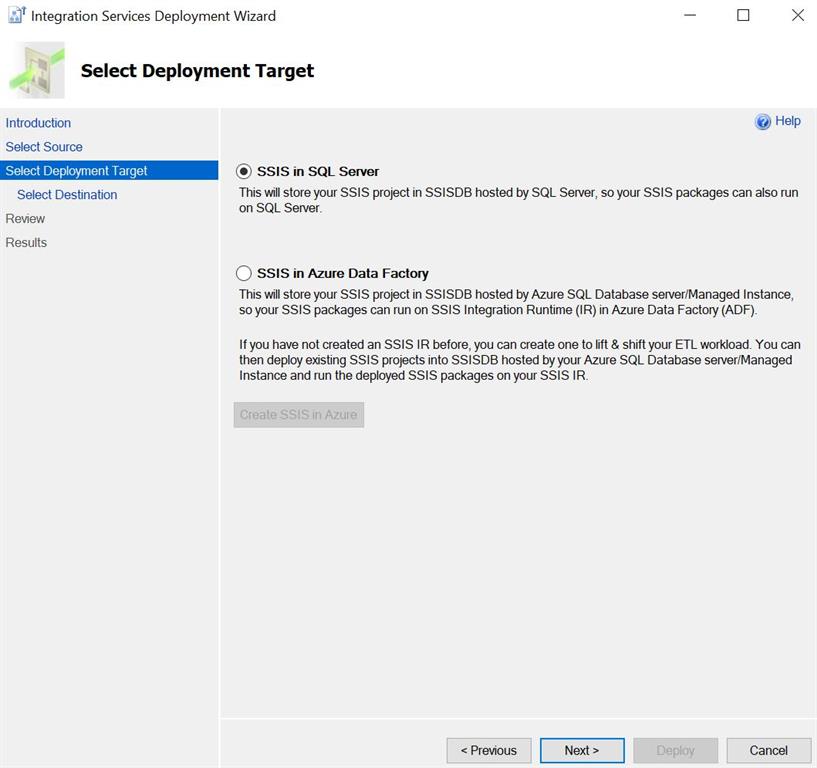
We have two deployment targets,
SSIS in SQL Server
SSIS in Azure Data Factory
As in this article, we are going to deploy on SQL Server, so we must select SSIS in SQL Server and click Next.
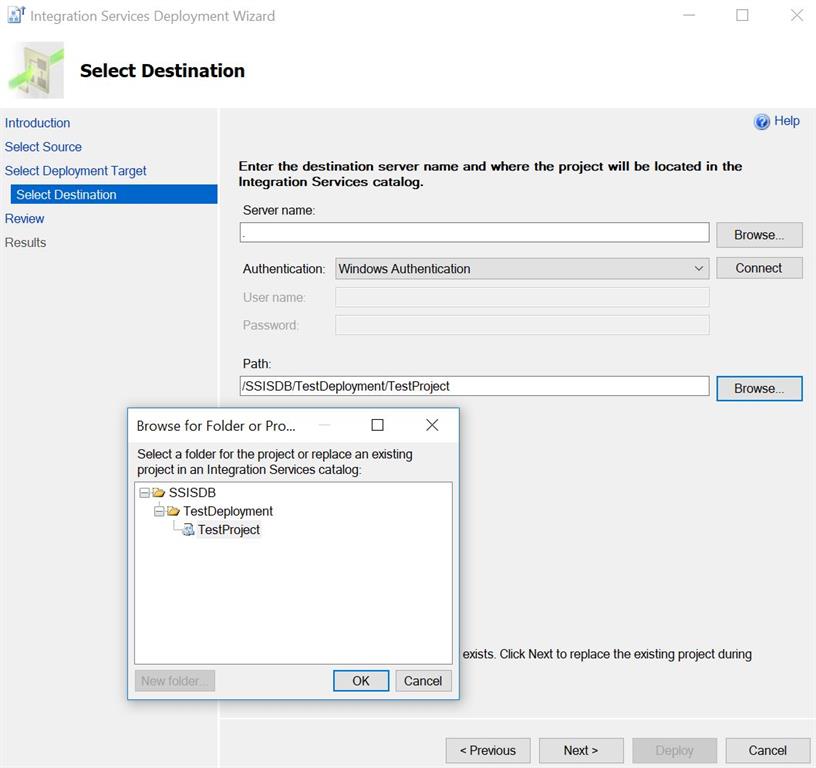
Select a destination, Enter the SQL Server name, Authentication type, Username, and password, and click Connect. Once connect Browse the project folder path if available, if not available create a directory in SSISDB and create a new project, and hit Next.
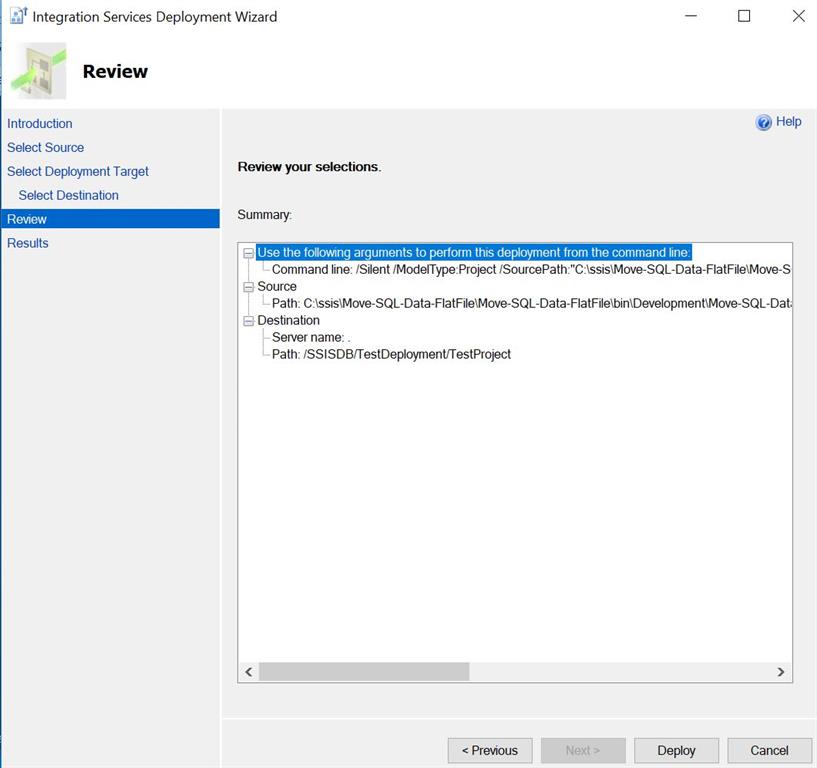
You can review all the given changes and hit Deploy.
You can check the deployment result in the last windows. If all results are passed, then click close.
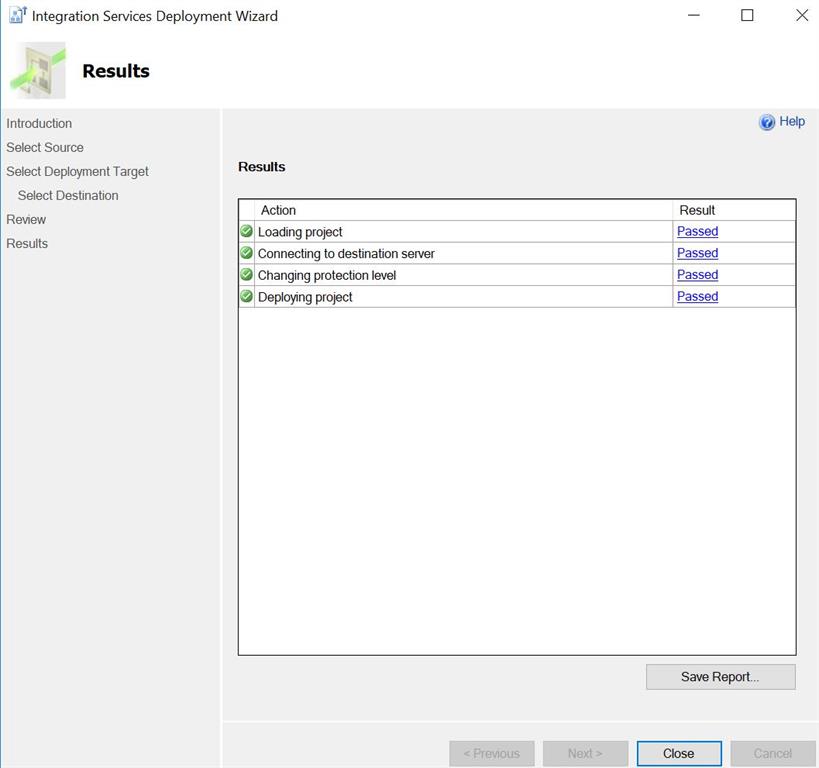
The above screenshot shows that all results are passed and successfully deployed.
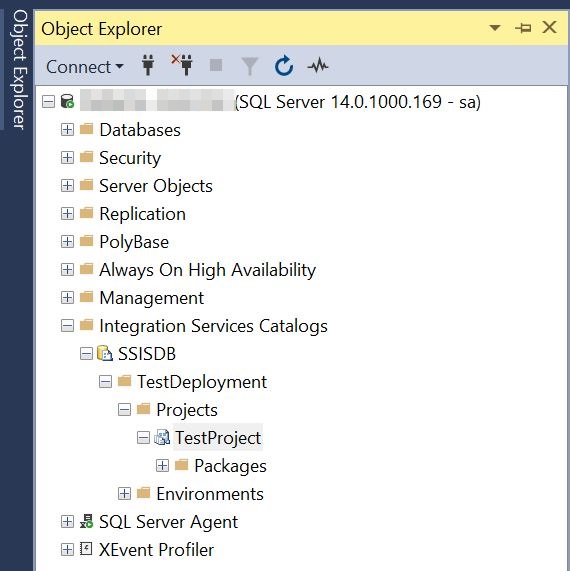
Go to SQL Server and expand Integration Services Catalogs and go to SSISDB you can see the created folder and project and deployed packages there.
Conclusion
In this article, we have learned how to deploy SSIS Project to SQL Server.
HostForLIFEASP.NET SQL Server 2019 Hosting
