
November 25, 2021 06:02 by
 Peter
PeterSQL Server Management Studio (SSMS) is an integrated environment for managing any SQL infrastructure, from SQL Server to Azure SQL Database. SSMS provides tools to configure, monitor, and administer instances of SQL Server and databases. Use SSMS to deploy, monitor, and upgrade the data-tier components used by your applications, and build queries and scripts.
Use SSMS to query, design, and manage your databases and data warehouses, wherever they are – on your local computer, or in the cloud.
In this article, will see how to install Microsoft SQL Server Management Studio (SSMS) on your PC.
Follow the below steps for the same.
Step 1
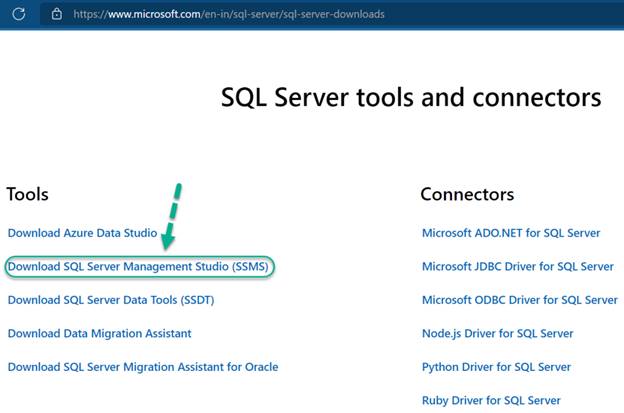
Click here to navigate to SQL Server Downloads web page.
Step 2
Click on Download SQL Server Management Studio (SSMS).
Step 3
You can see the latest version of the SSMS here.
Under the Download SSMS section, Click on Free Download for SQL Server Management Studio (SSMS) 18.10 to download the executable file.
Note: SSMS version will be changed based on the new releases by Microsoft. Download the latest SSMS as shown in the Download SSMS section.

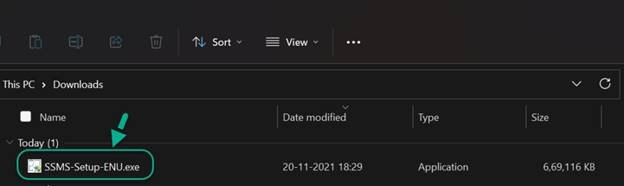
SSMS-Setup-ENU.exe will be downloaded to your PC.
Step 4
Double click on SSMS-Setup-ENU.exe executable file to start the SSMS installation.
Step 5
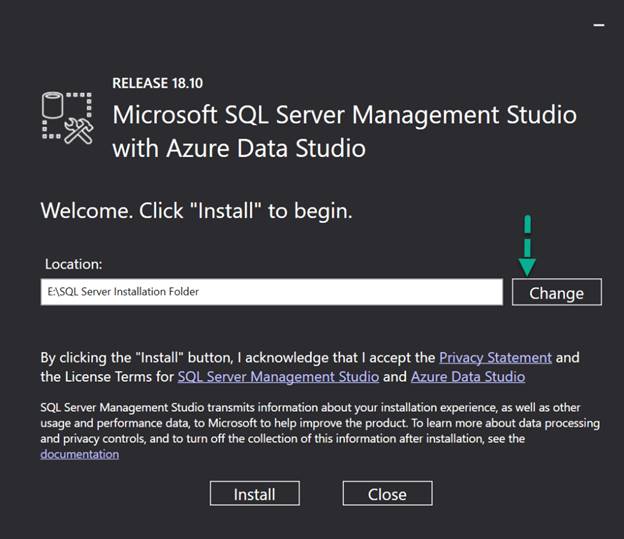
Click on Change, if you wish to change the location of the SQL Server.
Otherwise, go to Next Step.
Step 6
Click on Install.

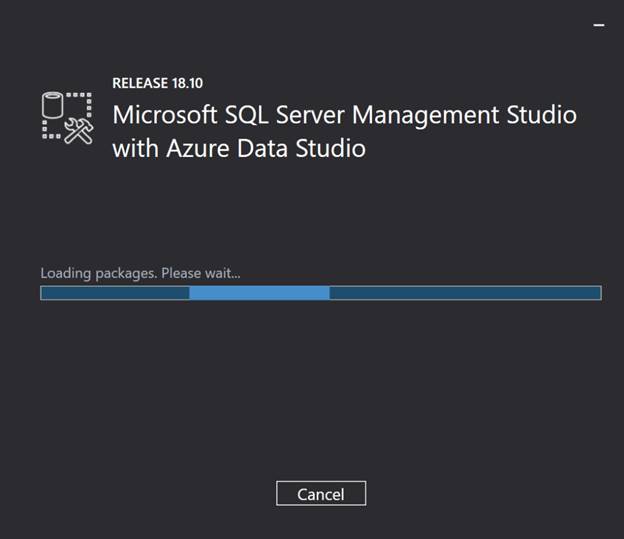
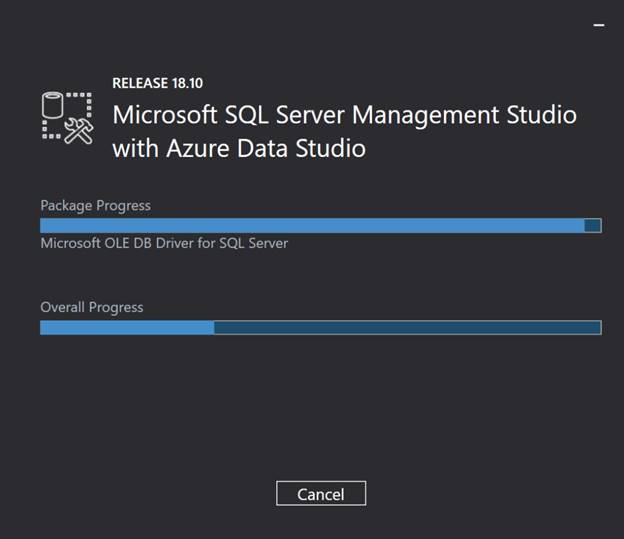
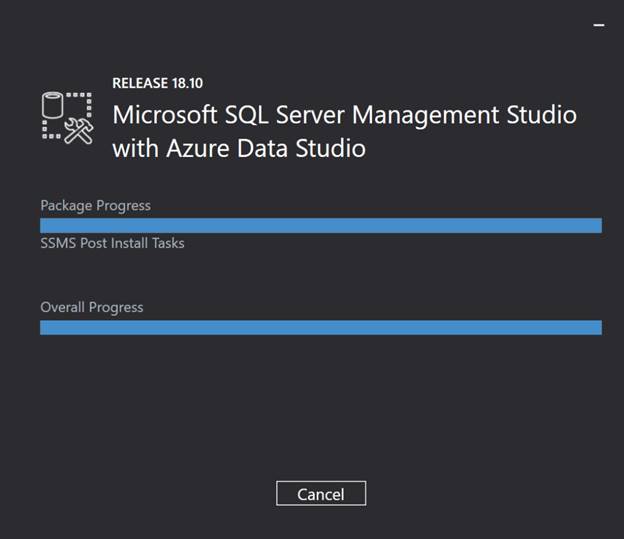
Installation steps are in progress.
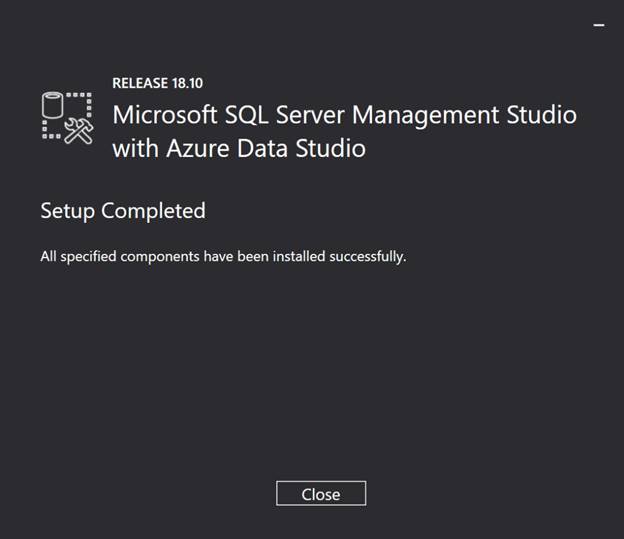
SSMS Installation completed successfully.
Step 7
Click on Microsoft button and Search for SSMS. Click on Open.
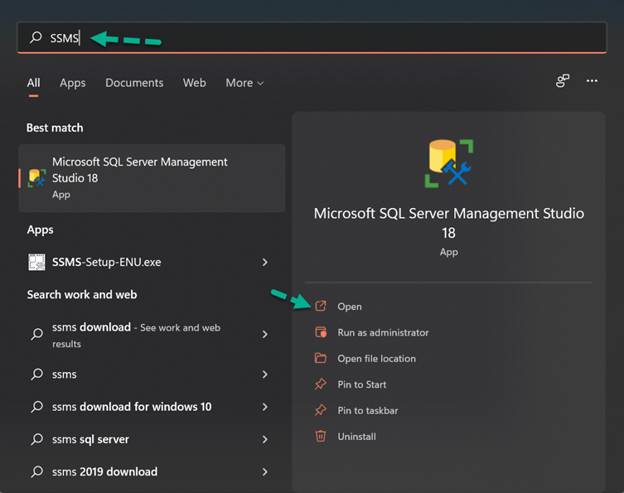
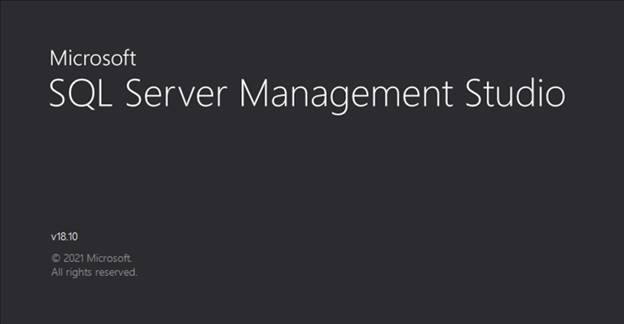
Microsoft SQL Server Management Studio will be launched on your PC.
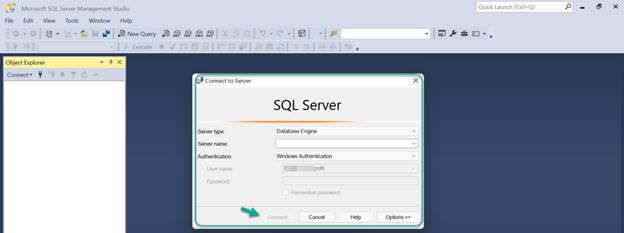
Step 8
Provide all the required details and Click on Connect to open your required Database.
Hope you have successfully Downloaded, Installed and Connected to your database in SSMS on your PC.
HostForLIFEASP.NET SQL Server 2019 Hosting
